

Quebec’s climate isn’t just cold. It’s a relentless cycle of extreme temperature swings that puts your attic through hell and back, year after year.
When you’re dealing with winters that regularly drop below -20°C and summers that climb past 30°C, your attic becomes a battleground. The temperature difference between your heated living space and the frigid outdoors creates the perfect conditions for moisture problems that can destroy your home from the top down.
Quebec’s Harsh Winter Conditions and Their Impact on Attics
Winter in Quebec means your attic faces a brutal reality. You’ve got heated air at 20°C inside your home, and outside temperatures that can hit -30°C or lower. That’s a 50-degree temperature differential happening right at your roof line.
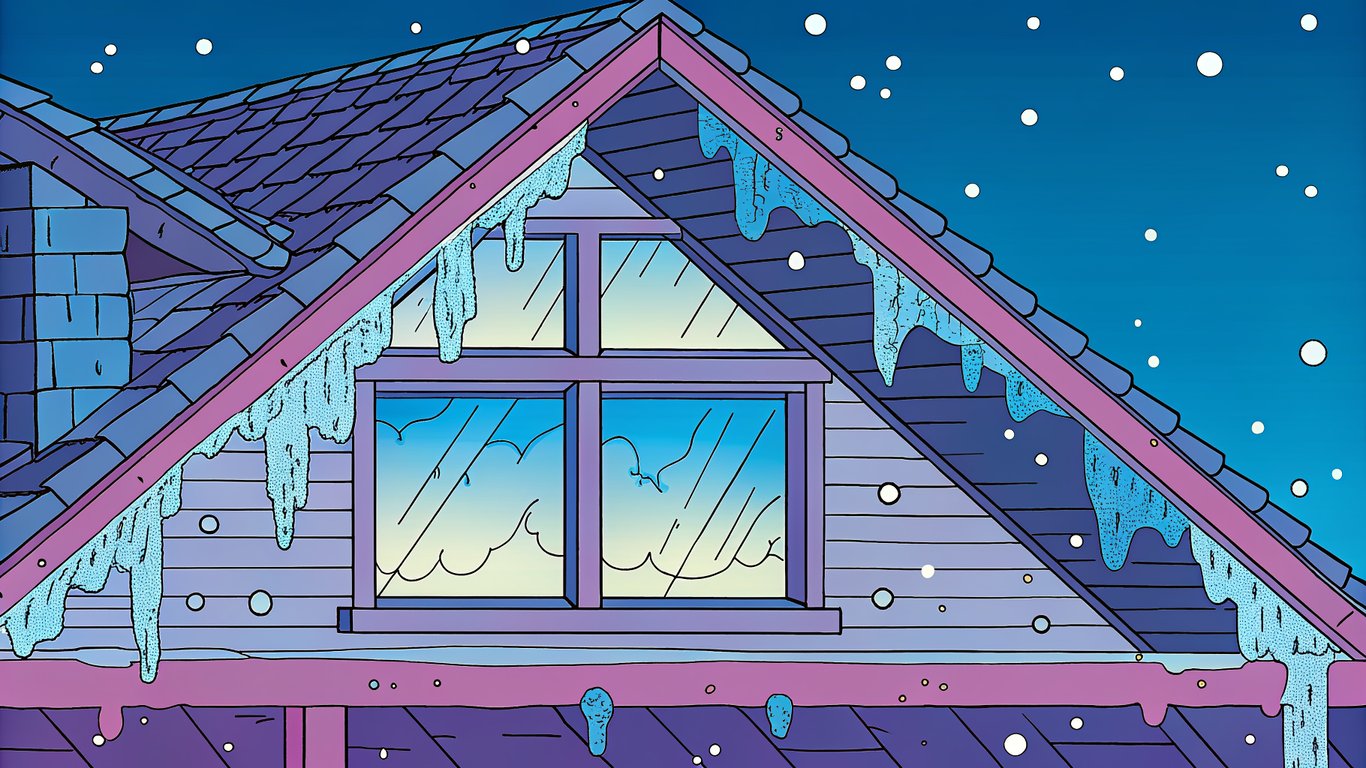
Heavy snow loads add another layer of complexity. When snow piles up on your roof, it acts like insulation, but not the good kind. It traps heat that escapes through your attic, creating localized melting that leads to ice dams. These ice formations don’t just damage your gutters. They force water back under your shingles and into your home.
The warm air from your living space carries moisture. Always. When that moisture-laden air hits the cold surfaces in your attic, it condenses. You’ll see frost on the underside of your roof sheathing, water stains on rafters, and eventually mold growth if the problem persists.
Summer Heat and Humidity Considerations
Quebec summers bring their own challenges. High humidity combined with intense solar radiation can turn your attic into an oven that reaches 60°C or higher. That heat radiates down into your living space, making your air conditioner work overtime.
But it’s not just about comfort. Summer moisture can accumulate in your attic from humid outdoor air mixing with cooler indoor air. Without proper ventilation, you’re creating conditions where mold and mildew thrive year-round, not just in winter.
The Science Behind Moisture Accumulation in Cold Climates
Here’s what actually happens in your attic during a Quebec winter. Warm air from activities like cooking, showering, and even breathing rises through ceiling penetrations, light fixtures, and any gaps in your air barrier. This air carries water vapor with it.
When that warm, moist air reaches cold surfaces in your attic, the water vapor condenses into liquid water. It’s basic physics. Cold air can’t hold as much moisture as warm air, so the excess becomes condensation on your roof sheathing, rafters, and nails.
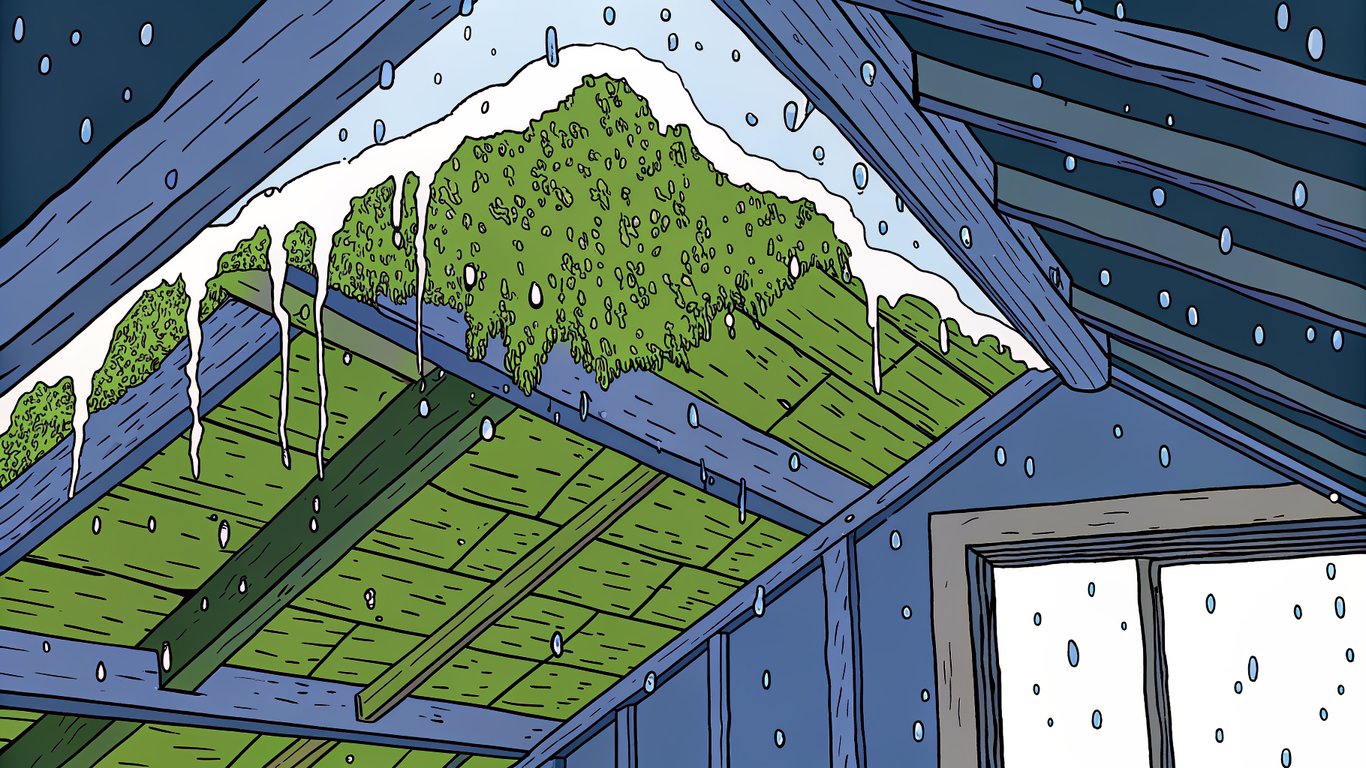
Over time, this condensation leads to wood rot, compromised structural integrity, and mold growth. The damage compounds because moisture also reduces the effectiveness of your insulation, creating a vicious cycle of heat loss and more condensation.
The Critical Relationship Between Attic Ventilation and Insulation
You can’t just pile insulation into your attic and call it done. And you can’t just add vents without considering how they work with your insulation. These two systems need to work together, or you’ll end up with problems that cost thousands to fix.
How Insulation Controls Heat Transfer
Insulation works by slowing down heat transfer. The R-value measures this resistance. Higher R-values mean better insulation performance. For Quebec homes, you’re looking at recommended levels between R-50 and R-60 in your attic.
That’s a lot of insulation. We’re talking about 16 to 20 inches of material, depending on what type you use. But here’s the catch: if you pack your attic full of insulation without maintaining proper ventilation channels, you’re creating a moisture trap.
The insulation keeps heat in your living space, which is good. But any moisture that does make it into your attic space needs a way out. Without ventilation, that moisture gets trapped against cold roof surfaces, and you know what happens next.
How Ventilation Manages Moisture and Temperature
Proper attic ventilation creates continuous airflow that removes moisture-laden air before it can condense. Fresh, dry air enters through soffit vents at the bottom of your roof, flows up through the attic space, and exits through ridge vents or other exhaust points at the top.
This airflow serves multiple purposes. In winter, it keeps your roof deck cold, preventing snow melt and ice dams. In summer, it exhausts superheated air, reducing cooling costs. Year-round, it removes moisture that would otherwise damage your home.
Why You Can’t Have One Without the Other
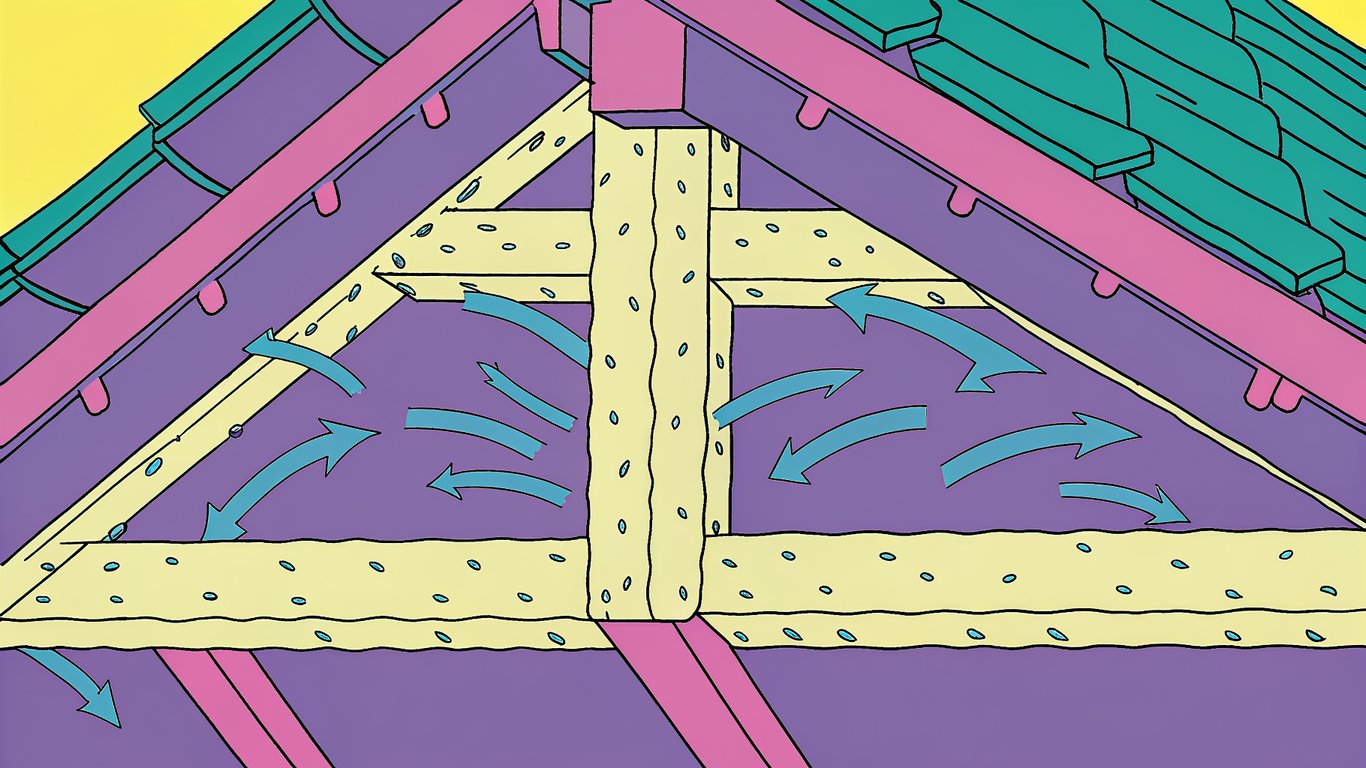
Over-insulating without adequate ventilation creates a sealed environment where any moisture that enters has nowhere to go. You’ll see condensation, frost buildup, and eventually structural damage. Your expensive insulation upgrade becomes a costly mistake.
On the flip side, having great ventilation without proper insulation means you’re just ventilating heated air directly out of your home. Your energy bills skyrocket, and you’re still not solving the fundamental problem of heat loss.
The balance matters. You need enough insulation to meet Quebec’s thermal performance requirements, and enough ventilation to manage the moisture that inevitably finds its way into your attic space.
Quebec Building Code Requirements
Quebec’s building codes specify ventilation ratios for residential attics. The standard requirement is typically 1:300, meaning one square foot of net free ventilation area for every 300 square feet of attic floor space. With a proper vapor barrier, you might use a 1:150 ratio.
These aren’t arbitrary numbers. They’re based on building science research specific to cold climates. Meeting these requirements helps ensure your attic ventilation and insulation system performs as intended throughout Quebec’s extreme seasonal variations.
Assess Your Current Attic Ventilation and Insulation System
Before you start making changes, you need to understand what you’re working with. A thorough assessment reveals problems you might not know exist and helps you prioritize improvements.
Conducting a Visual Inspection
Start by safely accessing your attic. You’ll need a flashlight, a tape measure, and probably a dust mask. Look at your existing insulation first. Measure its depth in several locations. Uneven coverage is common and creates cold spots where heat escapes.
Check for signs of moisture damage. Water stains on rafters or roof sheathing indicate current or past leaks. Frost or ice buildup during winter means you’ve got serious ventilation problems. Mold appears as black or green discoloration and means moisture has been present for a while.
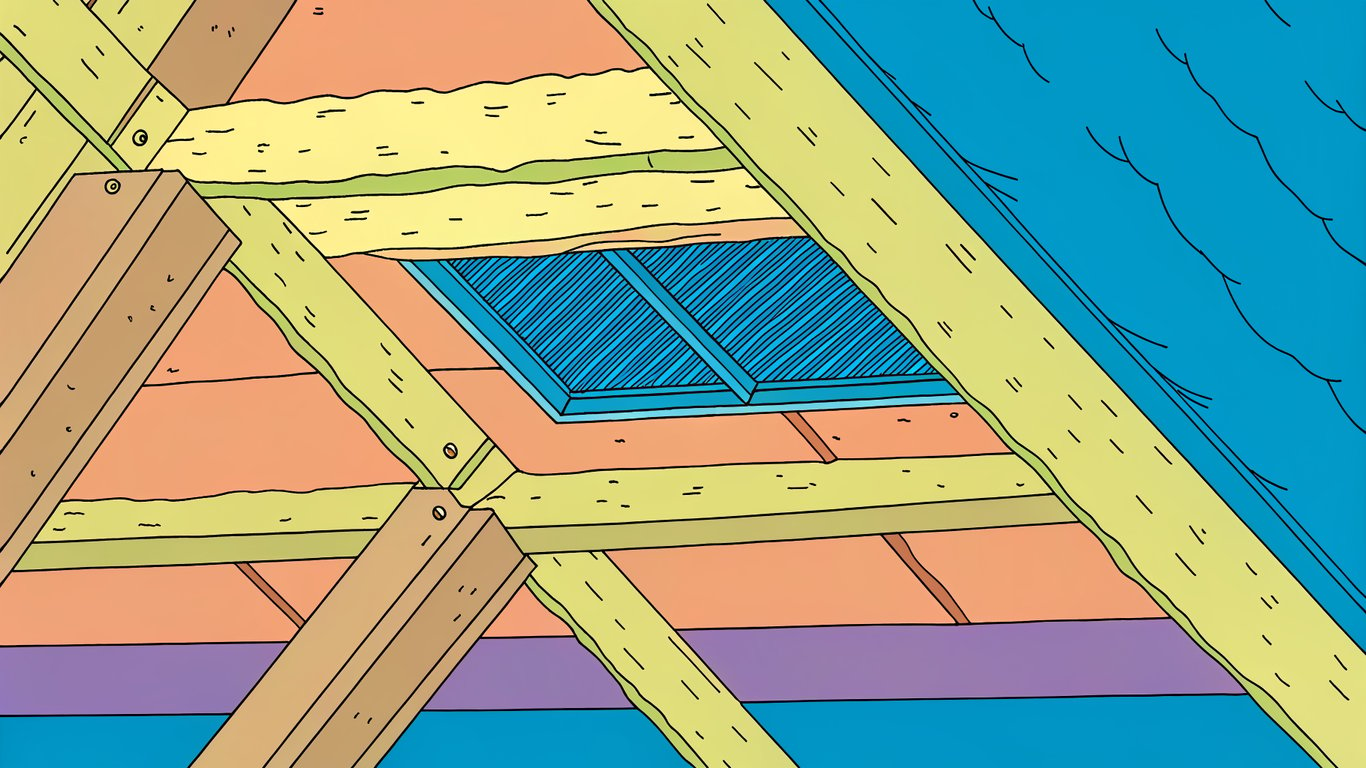
Look at how your insulation sits near the eaves. If it’s blocking the soffit vents, you’ve found one reason your ventilation isn’t working properly. The insulation should stop short of the soffit area, leaving a clear channel for air to enter.
Identifying Existing Ventilation Components
Walk around the outside of your home and look for soffit vents. These are typically perforated panels or continuous strips along the underside of your roof overhang. Count them and estimate their total area.
Check your roof for exhaust vents. Ridge vents run along the peak of your roof. Roof vents are individual units that stick up through the shingles. Gable vents are openings in the triangular wall sections at the ends of your attic. Note what you have and their approximate sizes.
From inside the attic, verify that your soffit vents actually allow air to enter. Sometimes they’re painted over or blocked by insulation. Your ventilation system only works if air can actually flow through it.
Recognizing Warning Signs of Imbalance
- Ice dams forming along your roof edges every winter
- Frost or ice on the underside of your roof sheathing
- Water stains on attic rafters or ceiling below
- Musty or moldy odors when you open the attic hatch
- Excessive heat in your attic during summer months
- Visible mold growth on wood surfaces
- Rusty nails poking through the roof sheathing
- Sagging or compressed insulation that’s lost its effectiveness
Any of these signs means your current system isn’t balanced properly. The good news is that identifying the problem is the first step toward fixing it.
When to Call a Professional Inspector
If you see extensive mold growth, significant structural damage, or you’re just not comfortable assessing the situation yourself, bring in a professional. Many Quebec insulation contractors offer inspection services that include thermal imaging to identify heat loss patterns and moisture meters to detect hidden problems.
A professional assessment typically costs a few hundred dollars but can save you thousands by identifying the right solutions before you start work. They’ll also ensure any improvements comply with Quebec building codes.
Calculate Your Attic’s Ventilation Requirements
Math time. Don’t worry, it’s straightforward. You need to know how much ventilation your attic requires to work properly with your insulation.
Understanding the 1:300 and 1:150 Ventilation Ratios
Start by measuring your attic floor area. For a simple rectangular attic, multiply length times width. For more complex roof shapes, break it into sections and add them up.
Using the 1:300 ratio, divide your attic square footage by 300. That gives you the minimum net free ventilation area in square feet. For example, a 1,200 square foot attic needs at least 4 square feet of net free ventilation area.
The 1:150 ratio applies when you have a proper vapor barrier installed on the warm side of your insulation. This allows for more ventilation, which is often beneficial in Quebec’s climate. Same 1,200 square foot attic would need 8 square feet using this ratio.
Balancing Intake and Exhaust Ventilation
Here’s the critical part: you need to split your total ventilation area roughly equally between intake and exhaust. Half should be soffit vents (intake), and half should be ridge or roof vents (exhaust).
If you have 8 square feet of total ventilation requirement, you need 4 square feet of soffit vents and 4 square feet of ridge or roof vents. This balance creates the continuous airflow that actually removes moisture and heat from your attic.
Too much exhaust and not enough intake creates negative pressure that can pull conditioned air from your living space. Too much intake and not enough exhaust means air enters but doesn’t exit efficiently. Balance is everything.
Implement Proper Attic Ventilation Solutions
Now you’re ready to actually improve your ventilation system. This is where theory meets practice, and where you’ll see real results in moisture control and energy efficiency.
Installing or Upgrading Soffit Vents for Intake Air
Soffit vents are your intake system. If you don’t have continuous soffit vents, you’ll need to install them. This typically involves cutting openings in your soffit panels and installing perforated vent strips.
For homes with limited soffit space, you have options. Individual circular vents can be spaced along the soffit. Some contractors install vents in the fascia board instead. The key is ensuring these vents remain clear of insulation inside the attic.
Check your soffit vents seasonally. They can get blocked by wasp nests, leaves, or snow buildup. A blocked intake vent stops your entire ventilation system from working properly.
Choosing and Installing Exhaust Ventilation
Ridge vents are probably the best exhaust option for most Quebec homes. They run along the entire peak of your roof, providing continuous exhaust that works naturally with soffit intake vents. They’re also less visible than other options and less prone to leaks when properly installed.
Roof vents work well if you can’t install a ridge vent. You’ll need multiple units spaced evenly across your roof to provide adequate exhaust area. They’re more visible but easier to add to an existing roof.
Gable vents can supplement your system but shouldn’t be your only exhaust method. They work best in combination with soffit and ridge vents, not as a replacement for them.
Using Baffles to Maintain Airflow Channels
Rafter baffles are essential for maintaining the air channel between your soffit vents and your attic space. These rigid foam or cardboard channels install between your rafters, creating a clear path for air to flow even when you have deep insulation.
Install baffles before adding or upgrading insulation. They should extend from the soffit area up into the attic, maintaining at least a 2-inch air gap between the insulation and the roof sheathing. This gap is critical for proper ventilation.
Without baffles, insulation tends to compress or block the soffit vents, eliminating your intake airflow. It’s a common mistake that renders your ventilation system useless.
Optimize Insulation While Preserving Ventilation
Getting your insulation right while maintaining proper ventilation requires careful planning and execution. This is where many DIY projects go wrong, so pay attention to the details.
Selecting the Right Insulation Type for Quebec Homes
Blown-in cellulose is popular in Quebec because it fills gaps effectively and has good moisture resistance. It settles over time, so contractors typically over-fill slightly to maintain R-value. It works well with proper ventilation systems.
Fiberglass batts are cheaper but harder to install properly. Gaps and compression reduce their effectiveness significantly. If you go this route, take your time to fit each batt perfectly without compressing it.
Spray foam creates an air seal and insulation in one step, but it’s expensive and requires professional installation. It’s sometimes used in specific problem areas rather than for the entire attic.
Achieving Recommended R-Values Without Blocking Vents
To hit R-50 to R-60 in your attic, you need substantial insulation depth. With fiberglass, that’s about 16 to 20 inches. With cellulose, slightly less due to its higher density.
The challenge is maintaining that 2-inch air gap between your insulation and roof sheathing. This is where baffles become essential. They create a physical barrier that prevents insulation from blocking your ventilation channels.
In areas where your roof pitch is low or rafters are shallow, you might need to get creative. Some contractors build up the rafter depth or use higher R-value insulation materials to achieve the required performance in limited space.
Air Sealing Before Insulating
This step is crucial and often skipped. Before you add insulation, seal all air leaks between your living space and attic. Use caulk or spray foam to seal around plumbing penetrations, electrical boxes, light fixtures, and the attic hatch.
Air sealing prevents warm, moist air from entering your attic in the first place. It’s more effective than trying to ventilate that moisture out after it’s already there. A proper air seal can reduce your moisture problems by 80% or more.
Pay special attention to recessed lights. Older non-IC rated fixtures can’t be covered with insulation. You’ll need to replace them with IC-rated or airtight fixtures before insulating over them.
Monitor and Maintain Your Balanced System
Your work isn’t done once you’ve upgraded your attic ventilation and insulation. Regular monitoring and maintenance keep your system performing optimally year after year.
Seasonal Inspection Checklist
In fall, before winter hits, check that all vents are clear of debris. Look for wasp nests in soffit vents and remove them. Verify that your attic hatch seal is intact.
During winter, watch for ice dams forming on your roof. They indicate heat loss and ventilation problems. After heavy snowfalls, check that ridge vents aren’t completely buried.
In spring, inspect your attic for any signs of moisture damage that occurred during winter. Look for water stains, mold growth, or frost damage. This is when problems become visible.
Summer inspections focus on heat buildup. Your attic should be hot, but not dramatically hotter than the outdoor temperature. Excessive heat indicates poor ventilation.
Preventing Ice Dams Through Proper Balance
Ice dams form when heat escaping through your roof melts snow, which then refreezes at the colder eaves. The correct combination of insulation and ventilation prevents this by keeping your entire roof deck cold and uniform in temperature.
Good insulation stops heat from escaping your living space. Proper ventilation keeps your attic and roof deck at outdoor temperature. Together, they eliminate the temperature differential that causes ice dams.
If you’re still getting ice dams after improving your attic system, you probably have air leaks allowing warm air to bypass your insulation. Go back and improve your air sealing.
Monitoring Indoor Humidity Levels
Buy a hygrometer and monitor your indoor humidity levels. In winter, you want to maintain between 30% and 50% relative humidity. Higher than that, and you’re creating excess moisture that will find its way into your attic.
If your humidity is consistently too high, you need to address the source. Use bathroom and kitchen exhaust fans when cooking or showering. Consider a whole-house ventilation system or HRV (heat recovery ventilator) to exchange indoor air without losing heat.
Controlling moisture at the source is always more effective than trying to manage it after it’s already in your attic. Your ventilation system is the last line of defense, not the primary solution.
Working with Quebec Insulation Professionals
Some attic projects are definitely DIY-friendly. Others require professional expertise, especially when you’re dealing with major upgrades or existing moisture problems.
When DIY Isn’t Enough
If you’re adding 6 inches of blown-in insulation to an already decent attic, you can probably handle that yourself. But if you’re doing a complete attic renovation, dealing with mold remediation, or redesigning your ventilation system, bring in professionals.
Major insulation upgrades require specialized equipment for blown-in materials. Ventilation system redesigns need calculations and expertise to ensure proper airflow. Moisture remediation requires identifying and fixing the root cause, not just treating symptoms.
Questions to Ask Insulation Contractors
- How many years have you been working specifically in Quebec’s climate?
- What’s your approach to balancing ventilation with insulation upgrades?
- Do you perform air sealing as part of your insulation service?
- What warranties do you offer on materials and workmanship?
- Are you licensed with the Régie du bâtiment du Québec (RBQ)?
- Will you ensure compliance with current Quebec building codes?
- Can you provide references from recent projects similar to mine?
- What’s included in your quote, and what might cost extra?
A good contractor will answer these questions confidently and provide detailed explanations of their process. If they can’t or won’t, keep looking.
Understanding Costs and ROI
Attic insulation and ventilation upgrades in Quebec typically cost between a few thousand dollars for basic improvements to over ten thousand for comprehensive renovations. The exact cost depends on your attic size, current condition, and the scope of work needed.
Quebec offers various rebates and incentives for energy efficiency improvements. Check with Hydro-Québec and federal programs for current offerings. These can offset a significant portion of your project cost.
Energy savings vary based on your current system and heating costs, but many homeowners see 20% to 30% reductions in heating bills after proper attic upgrades. In Quebec’s climate, that can mean payback periods of 5 to 10 years, with continued savings for decades after.
Beyond energy savings, you’re preventing moisture damage that could cost tens of thousands to repair. You’re extending your roof’s lifespan. You’re improving comfort. The ROI goes beyond just the utility bill savings.
Getting your attic right means understanding that ventilation and insulation work as a system, not as separate components. Quebec’s extreme climate demands this balanced approach. Skip either element, and you’ll face problems that cost more to fix than doing it right the first time.
Start with a thorough assessment. Calculate your actual ventilation needs. Implement solutions that maintain airflow while achieving proper R-values. Monitor and maintain your system seasonally. And don’t hesitate to bring in professionals when the project exceeds your expertise or comfort level.
Your attic might be out of sight, but it shouldn’t be out of mind. It’s one of the most important parts of your home’s thermal envelope, and getting it right pays dividends in comfort, energy savings, and long-term home protection.