

Your home’s insulation works harder in Quebec than almost anywhere else in North America. We’re talking about temperature swings from -30°C winters to +30°C summers. That’s a 60-degree range your insulation needs to handle year after year.
Most homeowners don’t think about their insulation until something goes wrong. Maybe your heating bills jumped 30% this winter. Or you’ve noticed ice dams forming along your roofline. These aren’t just annoyances; they’re your home telling you the insulation isn’t doing its job anymore.
The thing is, insulation doesn’t last forever. Even the best materials break down over time, especially when they’re constantly battling Quebec’s harsh climate. Knowing when to replace insulation can save you thousands in energy costs and prevent serious moisture damage to your home’s structure.
This guide walks you through 15 practical ways to spot failing insulation, understand how long different materials typically last, and figure out your replacement timeline. You’ll learn what to check yourself and when it’s time to call in professionals.
Understanding Insulation Lifespan: Material-Specific Timelines
Not all insulation ages the same way. The material in your walls and attic determines how long you can expect it to perform effectively. Here’s what you need to know about the most common types found in Quebec homes.
Fiberglass Insulation: 15-25 Year Lifespan
Fiberglass batts and rolls are probably the most common insulation in Canadian homes built between 1980 and 2010. Under normal conditions, they’ll last 15 to 25 years before you need to think about replacement.
But here’s the catch: moisture is fiberglass’s worst enemy. If your attic has had any roof leaks, or if humidity levels stay high, that timeline shrinks fast. Water-damaged fiberglass loses its insulating ability almost immediately and won’t recover even after it dries out.
Compression is another issue. If you’ve stored boxes in your attic or had someone walk on the insulation during repairs, those compressed areas won’t bounce back. Once fiberglass is squashed, it’s done.
Cellulose Insulation: 20-30 Year Lifespan
Blown-in cellulose typically outlasts fiberglass by a few years, giving you 20 to 30 years of effective performance. It’s made from recycled paper products treated with fire retardants, which makes it a popular eco-friendly choice.
The main problem with cellulose is settling. Over time, gravity does its thing, and the material compacts. You might’ve started with 12 inches of coverage, but 20 years later you’re down to 8 or 9 inches. That means your R-value has dropped significantly.
Cellulose also absorbs moisture more readily than some other materials. In Quebec’s humid summers, this can lead to mold growth if your attic ventilation isn’t adequate. Once mold takes hold, you’re looking at complete removal and replacement.
Spray Foam Insulation: 80+ Year Lifespan
Spray foam is the marathon runner of insulation materials. When properly installed, it can last 80 years or more. The closed-cell variety creates an air-tight seal that doesn’t settle, compress, or absorb moisture.
You’ll rarely need to replace spray foam unless there’s been major structural damage to your home or the foam was poorly installed in the first place. Some older formulations from the 1980s and early 1990s had issues with off-gassing or shrinkage, but modern spray foam is remarkably stable.
The main inspection priority with spray foam is checking for gaps or cracks that might develop around windows, doors, or where the foam meets other building materials. These are usually small fixes rather than full replacements.
Mineral Wool (Rock Wool): 30-50 Year Lifespan
Mineral wool, sometimes called rock wool, is the tough guy of traditional insulation. It’ll typically last 30 to 50 years, and it handles moisture better than fiberglass or cellulose. Water can pass through it without destroying its insulating properties.
It’s also naturally fire-resistant and doesn’t attract pests. Mice and insects generally leave it alone, which is a big advantage in older homes where rodent problems are common.
When mineral wool does need replacement, it’s usually because of severe water damage that’s led to mold growth, or simply because it’s reached the end of its useful life and the R-value has degraded. But you’ll get decades of reliable performance before that happens.
Vermiculite and Older Materials: Immediate Assessment Needed
If your home was built before 1990 and you’ve got vermiculite insulation (looks like small, shiny pebbles), you need to get it tested immediately. Much of the vermiculite used in Canada came from a mine in Libby, Montana, that was contaminated with asbestos.
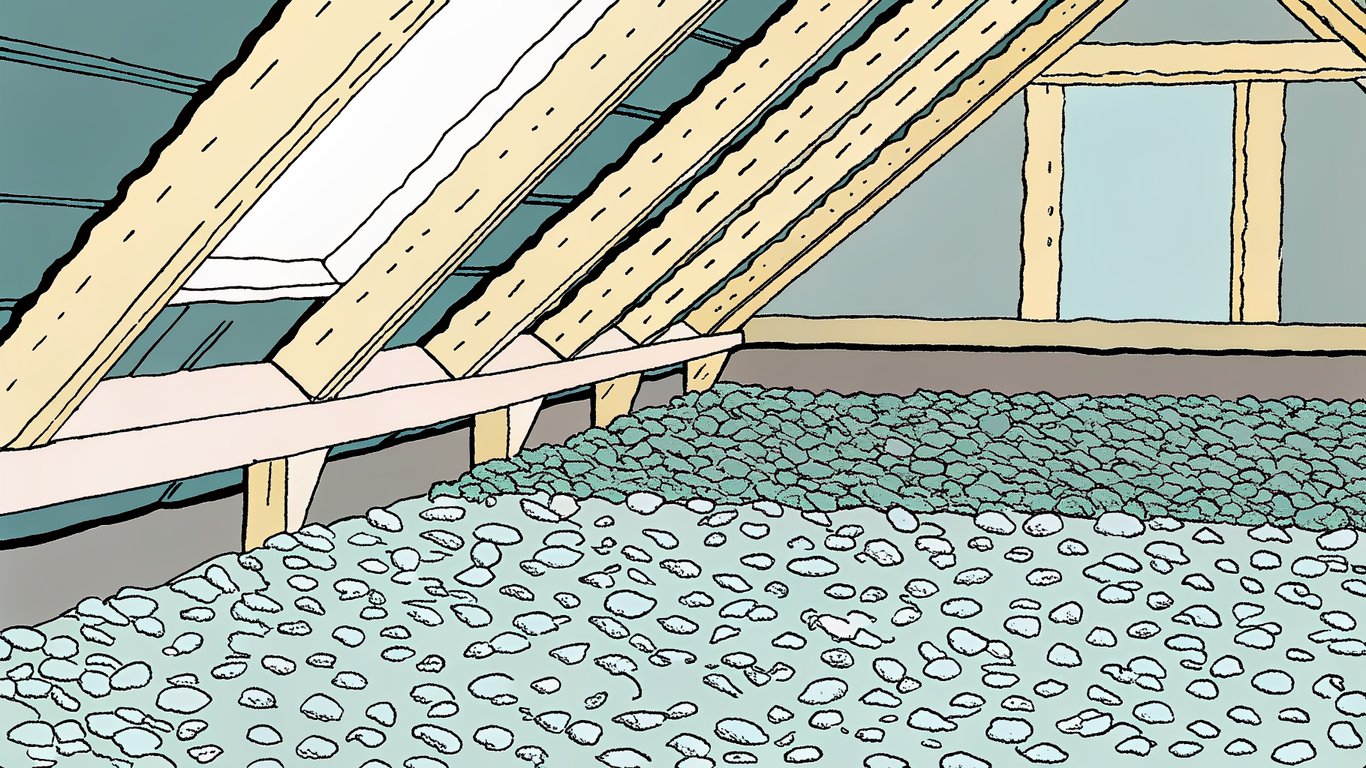
Don’t touch it yourself. Don’t disturb it. Call a certified asbestos testing company. If it tests positive, professional removal is your only safe option, and there are sometimes government programs to help with the cost.
Other older materials like urea-formaldehyde foam insulation (UFFI) or certain types of rigid foam boards from the 1970s may also need assessment and potential replacement, both for health reasons and because they’ve likely degraded significantly.
15 Visual and Physical Signs Your Insulation Needs Replacement
Now let’s get practical. Here are 15 specific things you can look for to determine if your insulation is failing. Some you can spot yourself; others require professional assessment.
Tips 1-3: Visible Deterioration Signs
Tip 1: Check for discoloration. Healthy fiberglass insulation is typically pink, yellow, or white. If you see gray or black areas, that’s dirt and dust that’s been pulled through by air leaks. It means your insulation isn’t sealing properly and air is moving through it instead of being blocked.
Tip 2: Look for sagging or compression. Go into your attic and look at the insulation between the joists. It should be fluffy and fill the space. If it’s compressed, flattened, or sagging away from the roof deck, it’s lost its insulating ability in those areas.
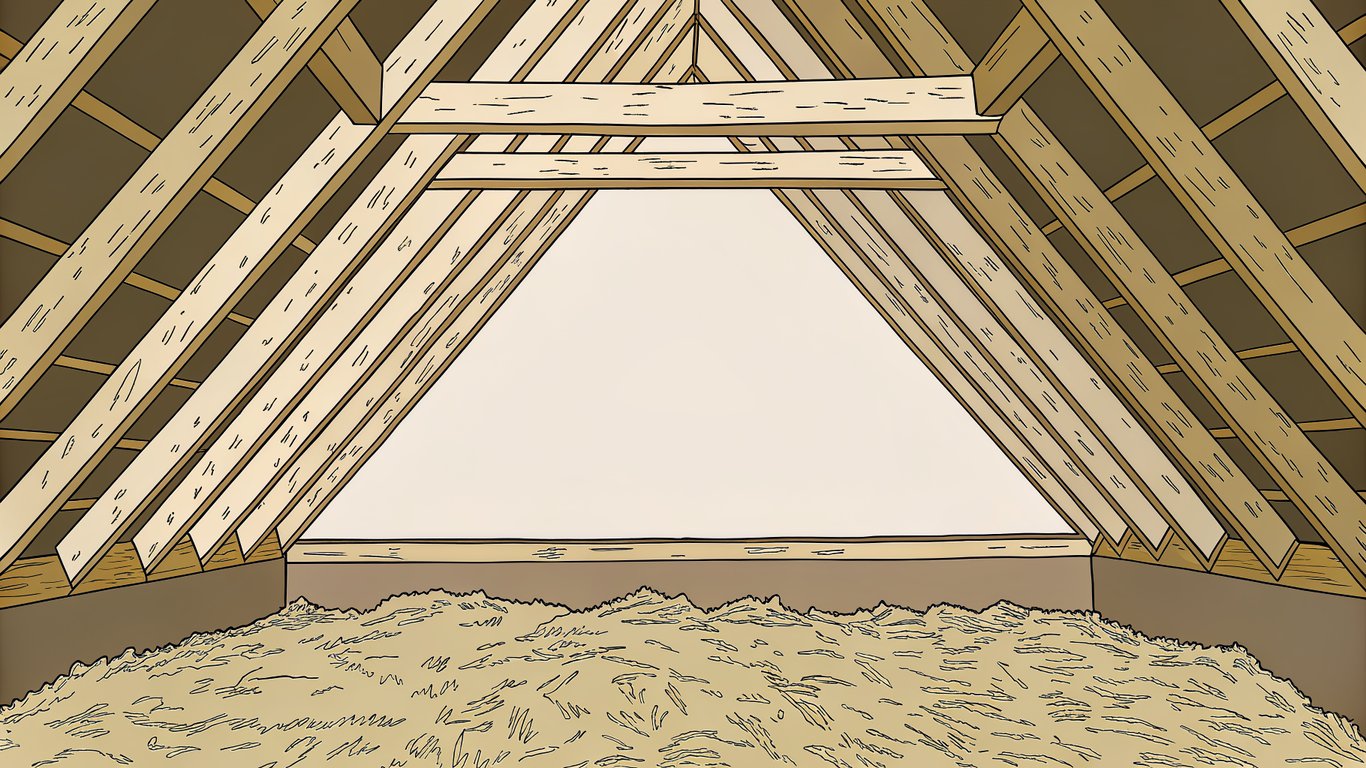
Tip 3: Identify gaps and missing sections. Insulation should form a continuous blanket. Any gaps, even small ones, create thermal bridges where heat escapes. This is especially common around recessed lights, plumbing vents, and chimneys where installers had to work around obstacles.
Tips 4-6: Moisture and Water Damage Indicators
Tip 4: Spot water stains on insulation or surrounding wood. Brown or yellow staining on your insulation or the wood around it means water has been present. Even if everything looks dry now, that insulation has been compromised and needs replacement.
Tip 5: Smell for musty odors. Your nose knows. A musty, earthy smell in your attic or basement usually means mold is growing somewhere. Insulation that’s been wet provides a perfect environment for mold, and once it’s established, the insulation has to go.
Tip 6: Feel for dampness. If you can safely access your insulation, touch it (wearing gloves). It should be completely dry. Any dampness means you’ve got a moisture problem that needs to be fixed before you replace the insulation, or you’ll just ruin the new material too.
Tips 7-9: Pest Infestation Evidence
Tip 7: Look for rodent droppings and nests. Mice and squirrels love to nest in insulation. If you see droppings, nesting materials, or tunnels through the insulation, you’ve got contamination. Rodent urine and feces carry diseases, and the insulation needs to be removed and replaced.
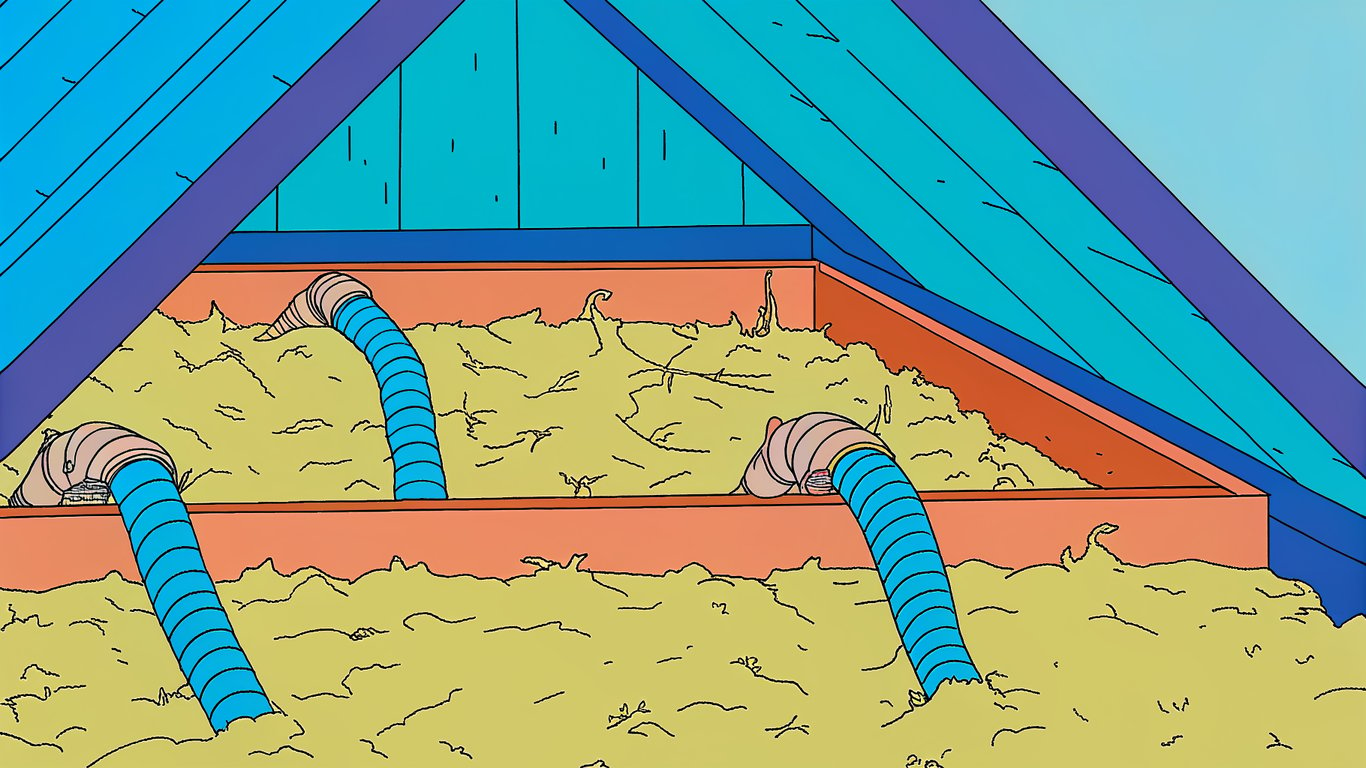
Tip 8: Check for insect damage. Some insects, particularly carpenter ants, will damage insulation while building their colonies. You might see small holes, tunnels, or areas where the insulation has been chewed or moved aside.
Tip 9: Notice unusual animal activity. If you hear scratching or scurrying in your walls or attic, you probably have pests living in your insulation. Even after you remove the animals, the insulation they’ve contaminated needs to be replaced.
Tips 10-12: Performance-Based Warning Signs
Tip 10: Monitor temperature variations between rooms. If your bedroom is freezing while your living room is comfortable, even though they’re both on the same floor with the same thermostat setting, you’ve got insulation problems. Consistent temperatures throughout your home indicate good insulation.
Tip 11: Watch for ice dams in winter. Ice dams form when heat escaping through your roof melts snow, which then refreezes at the eaves. This is a classic sign of inadequate or failing attic insulation. The heat should be staying in your home, not melting snow on your roof.
Tip 12: Track your energy bills. Pull out your heating bills from five years ago and compare them to today (adjusting for rate increases). If your consumption has jumped significantly without explanation, your insulation has probably degraded and your furnace is working overtime to compensate.
Tips 13-15: Structural and Age-Related Factors
Tip 13: Measure settling in blown-in insulation. If you have blown-in cellulose or fiberglass, measure the depth in several spots across your attic. Compare it to what was originally installed (check your home inspection report or installation records). If it’s settled more than 20%, you’ve lost significant R-value.
Tip 14: Consider the age of your insulation. If your insulation is approaching or past its expected lifespan for the material type, it’s time for a professional assessment even if you don’t see obvious problems. Insulation degrades gradually, and you might not notice the slow decline in performance.
Tip 15: Inspect after renovations. Any time you’ve had work done that involved opening walls or ceilings, check that the insulation was properly replaced. Contractors sometimes leave gaps or don’t restore the insulation to its original condition. These gaps can significantly impact your home’s energy efficiency.
Quebec-Specific Considerations: Climate and Building Code Factors
Quebec’s climate puts unique stress on insulation that homeowners in milder regions don’t have to worry about. Understanding these regional factors helps you know when to replace insulation before small problems become expensive disasters.
Freeze-Thaw Cycle Impact on Insulation
Quebec experiences dozens of freeze-thaw cycles each winter. Temperatures might drop to -20°C overnight, then climb above freezing during the day. This constant expansion and contraction stresses your home’s building envelope.
Any moisture that gets into your insulation during a thaw will freeze when temperatures drop again. Ice crystals can physically damage insulation fibers and create gaps. Over many seasons, this accelerates aging and reduces effectiveness.
Pay special attention to north-facing walls and areas that don’t get direct sunlight. These spots stay frozen longer and experience more dramatic temperature swings, which means the insulation there typically fails first.
Humidity and Ice Dam Damage
Summer humidity in Quebec can be brutal. When warm, moist air meets cold surfaces in your attic or walls, condensation forms. This moisture gets absorbed by insulation, reducing its R-value and creating conditions for mold growth.
Ice dams are particularly destructive. When they form, water backs up under your shingles and can soak into your attic insulation. By the time you notice water stains on your ceiling, the insulation above has probably been wet for weeks or months.
If you’ve had ice dam problems, don’t just fix the roof. Check your attic insulation carefully. Even if it looks okay, it may have absorbed enough moisture to lose effectiveness. Professional moisture testing can tell you if replacement is necessary.
Updated Building Code Requirements for 2026
Building codes in Quebec have gotten stricter over the years as energy efficiency standards improve. While you’re not required to upgrade insulation in an existing home just because codes changed, there are situations where you’ll need to meet current standards.
If you’re doing major renovations that require permits, you’ll typically need to bring the insulation in affected areas up to current code. For attics, that’s generally R-50 or higher. For walls, you’re looking at R-20 to R-24 depending on the construction type.
Even if you’re not renovating, it’s worth knowing these standards. If your home has R-20 in the attic (common in homes from the 1980s), you’re well below current R-value recommendations. Upgrading might seem expensive, but the energy savings typically pay for the investment within 10 to 15 years.
Room-by-Room Inspection Guide: Where and How to Check
A systematic inspection helps you understand the overall condition of your home’s insulation. Here’s how to check each area safely and effectively.
Attic Insulation Assessment
Start in your attic because it’s the easiest area to inspect and typically where problems show up first. Bring a flashlight, wear a dust mask, and step only on the joists (never on the insulation or drywall between joists).
Measure the depth of insulation in multiple spots. Use a ruler or tape measure, pushing it down until you hit the drywall. Write down the measurements. Consistent depth is good; variations suggest settling or gaps in coverage.
Look at the condition. Is it fluffy or compressed? Any discoloration? Water stains on the wood? Check around vents, chimneys, and recessed lights where gaps commonly occur. Take photos so you can track changes over time.
Wall Insulation Evaluation
Wall insulation is trickier because you can’t see it without opening walls. But there are indirect ways to assess its condition. On a cold day, carefully touch interior walls in different rooms. They should feel room temperature. If they’re noticeably cold, the insulation behind them is probably inadequate or damaged.
Remove an electrical outlet cover (turn off the breaker first) and shine a flashlight into the gap. You might be able to see if there’s insulation in the wall cavity. Some homeowners use a coat hanger to gently probe and feel for insulation, but be careful not to damage any wiring.
Professional thermal imaging is the best way to evaluate wall insulation. The camera shows temperature differences that reveal missing or damaged insulation. Many energy auditors offer this service, and it’s worth the cost if you suspect problems.
Basement and Crawl Space Inspection
Basement and crawl space insulation faces constant moisture challenges. Check foundation walls for any insulation that’s sagging, falling off, or showing water damage. Rigid foam boards should be firmly attached; fiberglass batts should be held in place with proper fasteners.
Smell is important here. A musty odor indicates moisture problems and possible mold. Check for condensation on pipes, walls, or the insulation itself. Any dampness means you need to address moisture issues before worrying about insulation replacement.
Look at the rim joist area where your foundation meets the floor framing. This is often poorly insulated or not insulated at all in older homes. It’s a major source of heat loss and should be properly sealed and insulated.
Rim Joist and Cantilever Areas
Rim joists and cantilevered floors are notorious problem areas. Many homes have little or no insulation here, even if the rest of the house is well-insulated. These areas are accessible from the basement or crawl space.
Check if there’s any insulation at all. If there is, make sure it’s properly sealed. Gaps around the insulation allow air infiltration, which defeats the purpose. Spray foam is ideal for these areas because it seals and insulates in one application.
If you have cantilevered sections (where the second floor extends beyond the first floor), check the underside. These are often under-insulated because they’re difficult to access during construction. Cold floors above these areas are a telltale sign of missing or inadequate insulation.
Creating Your Replacement Timeline: Decision-Making Framework
Once you’ve identified problems, you need to prioritize. Not every insulation issue requires immediate action, but some definitely do. Here’s how to create your replacement timeline.
Immediate Replacement Scenarios
Some situations require immediate action. If you’ve discovered vermiculite that might contain asbestos, stop. Don’t disturb it further and call professionals immediately. This is a health hazard that takes priority over everything else.
Active mold growth on insulation is another emergency. Mold spores can cause respiratory problems and allergic reactions. The contaminated insulation needs to be removed by professionals who can do it safely without spreading spores throughout your home.
Severe water damage from a recent leak also requires quick action. Wet insulation won’t dry properly and will continue causing problems. Remove it, fix the leak source, let everything dry completely, then install new insulation.
Plan Within 1-2 Years: Moderate Concerns
If your insulation is approaching the end of its expected lifespan but still functioning, you can plan replacement over the next year or two. This gives you time to budget, get multiple quotes, and schedule the work during the optimal season.
Significant settling in blown-in insulation falls into this category. It’s not an emergency, but it’s costing you money every month in higher energy bills. Plan to add more insulation or replace it entirely within the next 12 to 24 months.
Moderate pest damage also fits here. If you’ve had rodents but they’re now gone, the contaminated insulation should be replaced soon. It’s not an immediate health crisis, but it’s not something you want to leave indefinitely either.
Monitor and Reassess: Minor Issues
Small gaps or minor compression in otherwise good insulation can be monitored. Take photos and measurements now, then check again in six months or a year. If the problems aren’t getting worse, you can continue monitoring.
Slightly elevated energy bills without other symptoms might just reflect rate increases or a particularly harsh winter. Track your usage over a full year before deciding on replacement. Sometimes the problem is your furnace efficiency, not your insulation.
Keep a home maintenance log. Note when you check your insulation, what you find, and any changes from previous inspections. This documentation helps you make informed decisions and can be valuable if you sell your home.
Best Seasons for Insulation Replacement in Quebec
Late spring and early fall are ideal for insulation work in Quebec. The weather is mild, so your home won’t be uncomfortable while work is being done. Contractors are also typically less busy than during peak summer or winter months, which might get you better pricing.
Avoid winter if possible. Working in an unheated attic when it’s -20°C outside is miserable for contractors and can affect material performance. Some insulation products don’t install properly in extreme cold.
Summer works, but attics can reach 50°C or higher on hot days. This makes the work slower and more expensive because contractors need frequent breaks. If you must do summer work, try to schedule it during a cooler week.
Professional Assessment vs. DIY Inspection: When to Call Experts
You can do a lot of insulation inspection yourself, but there are times when professional expertise is worth the investment. Here’s how to know the difference.
DIY Inspection Capabilities and Limitations
Homeowners can safely inspect attic insulation, check for obvious moisture problems, and identify pest damage. You can measure insulation depth, look for gaps, and assess general condition. These basic inspections don’t require special equipment or training.
But there are limits. You can’t safely assess wall insulation without opening walls. You shouldn’t handle suspected asbestos-containing materials. And you probably can’t accurately measure R-values or detect subtle moisture problems that aren’t visible yet.
Safety is paramount. If your attic is difficult to access, has low clearance, or you’re not comfortable working at heights, hire a professional. A fall through your ceiling will cost far more than an inspection.
Professional Energy Audits and Thermal Imaging
A professional energy audit gives you a complete picture of your home’s insulation performance. Auditors use blower door tests to measure air leakage and thermal imaging cameras to see exactly where heat is escaping.
Thermal imaging is particularly valuable because it shows problems you can’t see with your eyes. Missing insulation in walls, gaps around windows, and air leaks all show up clearly on the camera. You’ll get a detailed report with photos showing exactly what needs attention.
In Quebec, energy audits typically cost between $300 and $600 for a standard home. Some utility companies offer rebates or subsidized audits, so check with Hydro-Québec or your local provider before booking. The investment usually pays for itself by helping you prioritize improvements that give the best return.
Questions to Ask Insulation Contractors
When you’re getting quotes for insulation replacement, ask contractors specific questions to evaluate their recommendations. How did they determine your current insulation is failing? What testing or measurements did they do? Can they show you the problem areas?
Ask about the R-value they’re recommending and why. It should meet or exceed current building code requirements for your area. Get details on the specific products they’ll use, including brand names and specifications.
Find out about their installation process. Will they remove old insulation or install over it? How will they handle air sealing? What about ventilation? A good contractor addresses the complete system, not just the insulation itself. And always get at least three quotes before making a decision.
Taking Action to Protect Your Quebec Home Investment
Your home’s insulation is working 24/7 to keep you comfortable and your energy bills manageable. But it won’t last forever, and Quebec’s climate is particularly tough on building materials.
The good news is that you now know what to look for. You understand how long different materials typically last, what signs indicate problems, and when professional help is necessary. You’ve got a framework for deciding whether issues need immediate attention or can be monitored over time.
Key Takeaways Checklist
- Inspect your attic insulation at least once a year, preferably in spring after winter stress
- Watch for discoloration, compression, gaps, and moisture damage as primary warning signs
- Know your insulation type and its expected lifespan to plan proactive replacement
- Address water leaks and moisture problems before replacing insulation
- Get professional assessment for suspected asbestos or extensive mold contamination
- Consider thermal imaging if you suspect wall insulation problems
- Plan insulation replacement for spring or fall when weather is moderate
- Budget for upgrades to current code standards if you’re replacing anyway
- Don’t ignore ice dams; they indicate serious insulation or ventilation problems
- Track your energy bills over time to spot gradual insulation degradation
Next Steps for Quebec Homeowners
Start with a thorough inspection of your accessible insulation areas this weekend. Take photos and measurements so you have a baseline for future comparisons. If you find obvious problems like water damage, pest infestation, or suspected asbestos, contact professionals immediately.
For homes with insulation approaching its expected lifespan, schedule a professional energy audit. The detailed assessment will help you prioritize improvements and might reveal problems you haven’t noticed yet. Many homeowners are surprised by what thermal imaging uncovers.
If you’re planning any renovations in the next few years, factor insulation upgrades into your budget. It’s much more cost-effective to improve insulation when walls are already open than to do it as a separate project later. And remember, better insulation isn’t just about comfort. It’s an investment that pays dividends through lower energy bills for decades to come.